A - Z of clipping
Kim Horton

A is for Accurate
A good clip is like a classic Chanel bag or the perfect Little Black Dress for a horse – it can take their appearance from simple to star! A bad clip, on the other hand, with jagged lines, missed patches or clip lines on the coat can really take away from the whole picture. Just taking your time and planning what you are doing can make all the difference. A clip will take you at least 40-60 minutes, maybe longer if you are new to doing it. If you are unsure of your clip lines, draw them on in advance with chalk, make-up or a marker (obviously not a permanent one!). If you do this, you will achieve a greater degree of accuracy.
B is for Blades
Sharp blades that are the correct type for your clippers are an essential requirement before you begin. It’s always wise to have two sharpened sets available as there’s nothing worse than getting half way through clipping and realising that the blades are getting hot and/or blunt! Making sure the coat is clean and free from sand and grit before you start will help your blades to stay sharp for longer. Sharp blades also make your horse more comfortable during clipping, as they won't drag on the hair. They will also produce a tighter clip that will keep the horse hair-free for longer.

C is for Cross-Tying
Cross-tying is simply tying your horse up with a lead rope attached to each side of the head collar. This restricts the horse’s range of movement when tied up, and creates a much safer clipping environment as the horse cannot turn around or swing their head or quarters very far. Cross-tying is particularly handy when clipping the face, as one side can be unclipped whilst the horse is still tied up. Most horses will happily stand cross tied and are much less likely to try to move about.

D is for Don’t
Don’t forget to clean your clippers properly. Remove the hair from under the blades and oil any moving parts. Also remove the hair from the filters during use - this helps keep the clippers cool.
Remove the blades (keep them in pairs as they are manufactured in pairs) and clean and oil them. Wash the filters in soapy water, but don't let the water near the clippers and make sure that the filters are dry before you put them back. When you’ve finished clipping, get the blades sharpened so they are ready for the next time.
Keep your clippers in a dry place. If you don’t they’ll rust, so all your cleaning efforts will be wasted.
E is for Elbows
Clipping elbows is notoriously difficult but don’t be tempted to leave them. Not only does it look awful, it’s also a bad idea as sweat collects in the elbows when the horse is working, leading to the hair and skin becoming matted and sore. To clip the elbows correctly, ask a helper to lift the hoof as if to pick it out, and then stretch the leg forwards. This will allow you to clip the area. Some horses are placid enough to allow you to both lift the leg and clip the area yourself.
F is for Face
The decision to fully clip or half clip the face relies on a number of factors. If a horse is going to be living out in cold weather or standing about in it, it may be kinder to just clip half the face. However, some horses get extremely sweaty around the ears and brow area and may be better off with a fully clipped face. Remember to take your time when clipping the face. Be aware of the environment around you and how the horse may react to sudden movements or noises, as these may make him suddenly turn his head.
G is for Goggles
If you have sensitive eyes or wear contact lenses, a set of racing goggles can be a great accessory to wear when clipping to keep the hair out of your eyes.
H is for Hair
Hair gets EVERYWHERE! When clipping, it’s a good idea to cover yourself up and have a separate set of clothes or overalls for the job itself.

I is for Itchy
It’s not just people that get itchy after a clipping session, some horses do too. This is caused by the loose hair and scurf sitting on their skin. A simple way to relieve this is to wipe down the clipped coat after you’ve finished with a damp cloth or sponge. This will collect the loose hair that’s sitting on the surface. The Supreme Products Eucalyptus Body Wash is great for adding to the warm water when washing your horse off.
J is for Jumpy
Some horses just don’t like clippers full stop! As soon as the noise of the clippers starts, the whites of their eyes appear. Place a free hand onto the area you’ll be clipping next so that the horse doesn’t jump when you put the clippers on him. If your horse is particularly jumpy, the Premier Performance CZ Calming Cookies could help your horse.
K is for Kick
This is exactly what you don’t want when clipping! Most horses who are familiar with the process will not kick, but take extra care with young, inexperienced horses, or those that simply do not like the clippers.
L is for Legs
Clipping the legs is a bit like marmite: some people love it, some hate it. If a horse is living out 24/7, it’s probably better to leave the legs on as they’re so much more exposed to the elements. Also, if horses are to be hunted or schooled regularly in a sandy arena, clipping the legs leaves them more exposed or at risk of an injury or sand irritation.
If the horse doesn’t like you clipping his body in the first place, it might be best to leave the legs alone!
M is for Mistakes
Everyone makes mistakes! Remember hair grows back. If you get the job done without a row with the horse or nicking either of you, then that’s a job well done!
N is for Neck
When clipping the neck, it’s a good idea to first tie the horse’s mane up. Section it and stick a few plaiting bands in each piece so that it stands upright. This reduces the chances of accidentally removing part of the mane when you clip the neck. The challenge with the neck is getting close enough to the mane to avoid having a tufty stripe alongside it, without chopping into the mane itself. Your best bet is to keep the clippers parallel to the crest and go slowly. Having the mane tied up helps you to see where you need to go with the clippers.
Some horses have whorls on their neck which can be tricky as you may need to clip in different directions to remove the hair fully.
O is for Oil
Vital for all clippers. Make sure you have oil before you start, or you won’t get very far! Clippers should be oiled right before you start and then again every 10 minutes, and every time you change blades.

P is for Preparation
A few minutes of preparation will make the job much easier. Before you start clipping, gather everything together that you’re going to use: clippers, oil, plaiting bands, marker/chalk for lines, protective clothing, extension lead, and don't forget whichever rug you plan to put on the horse after the clip.
Prepare your clipping area: if it’s a stable, brush back and bank up all the bedding to keep it hair free. Remove the water bucket so that it will not end up with a film of hair on top.
If you’re in a communal area of the stables, you may need to think about the time you do your clip, e.g. don’t do it when horses are being brought in.
Q is for Quick
If you are just clipping one horse, you can afford to take your time. But when you have a few to get through or time is limited, it’s not quite so simple. Develop a few tips to shorten the job for yourself. Try to approach the task with the same discipline every time you begin a clip.
R is for Rugs
A clipped horse will need rugs. Ensure that you have the full range of turnout and stable rugs for all temperatures before you need them.


S is for Shapes
If you want to have a bit of fun, clip a shape onto the quarters or the shoulder. This can be done with a stencil or, if you don’t have one, cut the shape out of cardboard. Clip around it or draw the shape on the coat with chalk or non-permanent marker. With practice, you’ll find it easy to clip basic shapes freehand.
T is for Tail
Before clipping, plait or, better still, bandage the tail to keep it out of the way. This makes it easier to see if clipping lines are symmetrical from the back, i.e. the clip of the hind quarters.
U is for Understanding
Like us, every horse is different. If you can find out what makes yours tick, life can be so much easier! The more you clip a horse or the better you know it, the easier it will be. Some horses do not like the sound, the look or the feel of the clippers. Others, however, will stand half asleep enjoying the experience. If you can figure out what works for you and your horse, it’s so much easier and safer to compromise rather than trying to force or fight.
V is for Version
What version of a clip to give your horse really depends on a number of factors – workload, thickness of the coat, how much and where they are sweating, if they are living in or out, and how much they feel the cold. If you are not sure, again it’s worth remembering that you can always take more hair off if you need to, but you can’t put it back on. If you’re worried your horse will be cold, you could always start with a neck and belly clip and then progress to a blanket or full clip the second time if they’re still too warm. To help you decide, take a look at our handy blog 'What is the best clip for your horse?'
W is for Washing
Ideally, you should bathe your horse before you clip. This may not always be practical or possible if it’s cold, wet, icy or snowy. Either way the coat needs to be clean before clipping, as any sand or grit in the hair will blunt your blades, make clipping take longer, and be more uncomfortable for the horse.
If you can wash the horse, make sure that you scrub deep down into the coat to remove dirt, scurf and loose skin.
If you cannot wash the horse, groom thoroughly using a rubber curry comb to massage the hair and bring all the loose grit, dirt, sand, loose hair and scurf to the surface before brushing away. Apply a coat conditioner to bad areas and massage into the coat before brushing out.


X is for X-Ray
Steel capped boots may be required in order to avoid an x-ray of a broken toe or foot!

Y is for Yeti
You know the type I mean! They have a six inch thick coat. If your hand disappears into the hair, you know you’re in trouble!
As horses get older, they often tend to become more yeti-like as nature tries to keep them warm, or as an off-shoot of conditions such as Cushing’s. The trouble with a yeti is that it’s hard to wash them once the coat is fully grown, as the wet coat can take an eternity to dry and they start to sweat heavily when ridden. If you own a yeti yourself, the best thing to do is to clip sooner rather than later. Once the winter coat has taken over, clip before it gets too long, and before they start sweating buckets when worked!
Z is for Zzzz
Sometimes you need a little help. While it’s not worth risking life and limb for a clip, sometimes the job must be done to enable a horse to work. There are a variety of sedation products on the market - what to get depends on the horse.
While some owners are averse to the use of a twitch, this may be the only way to get the horse to stand quietly while the job is done, allowing a much safer experience for all involved.
Oral sedation is another option, but do remember that a sedated horse can still hear, see and feel the same as before.
Alternatively, a number of calming supplements are available now and many of them have great results.

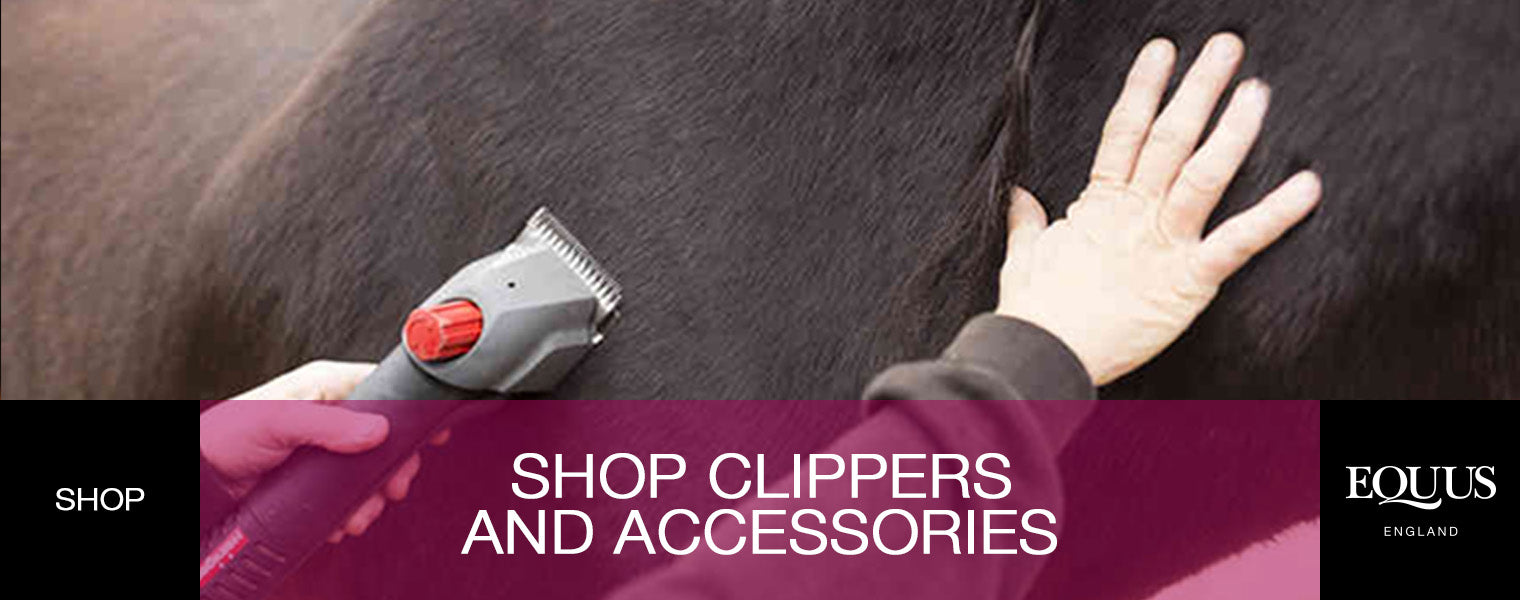
Check out our range of Clippers, Blades and Accessories to find everything you need. And don't forget the trimmer too!
Comment
